Our game is ready to roll but how can we add extra layers of content I hear you ask. Oh you didn’t ask that – never mind I’m going tell you anyway!
So what does it do?
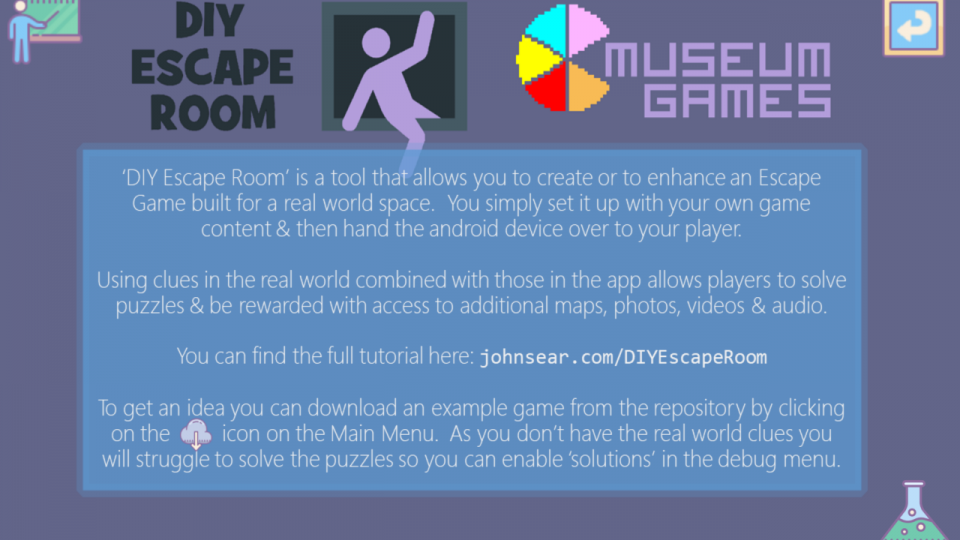
The application is designed to supplement the Escape Game that you create. Firstly, it allows players to access additional content such as images, maps, audio and video. Secondly, it allows players to enter codes. Finally, it allows this additional content to be gated – so it is only revealed to the player once they have solved puzzles or accessed other content.
It works entirely offline. Once you’ve installed the application and you’ve loaded it with your content you can disable wifi and the game will continue to run.
So what can I build?
In theory you could develop an Escape Game that works entirely via this app and your game could be almost entirely digital. As the key feature of Escape Games is a tangible connection to the real world I suspect that the best Escape Games will be a combination of digital and physical. This would involve finding clues in the real world, but also using tools and opening physical locks – i.e. it’s much better to have a physical copy of a map than it is viewing a map on a screen.
At the very extreme you could use the app to create a puzzle game that you could play entirely from a single location outside of the museum – e.g. the player’s couch. All the clues and puzzles could be entirely contained within the app. I’m not sure this would be a hugely satisfying game experience but it is at least possible.
Okay, I’m sold – show me the app
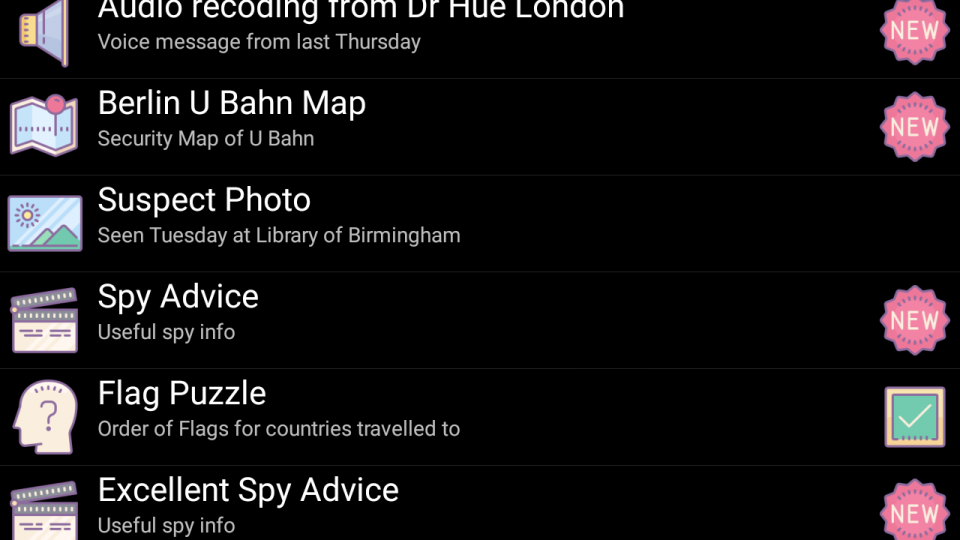
Great – probably easiest that you just watch the video below. There’s no audio which means you won’t hear video or audio clues. You should get a good understanding of the basic interface. The main view is a list of content. There’s are the images, videos, puzzles and audio that you have access to. As you solve puzzles you are able to unlock more content. Solved puzzles are removed – but currently all other content remains.
How do I install it?
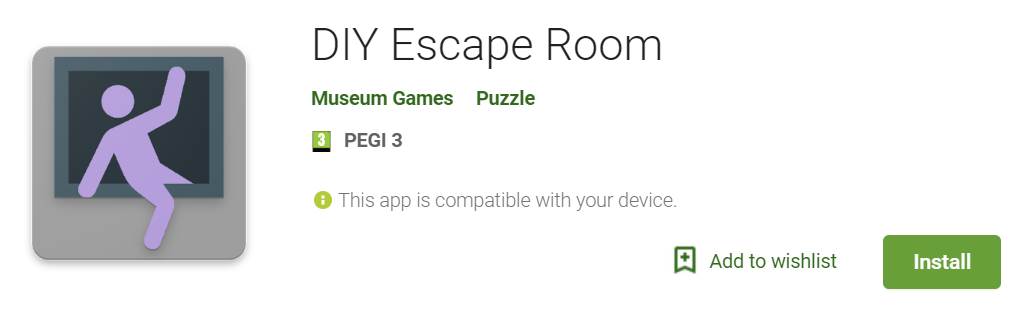
So the application is available from Google Play store. You can search for: ‘DIY Escape Game’ or click the link to be redirected.
How do I add my own content?
This is slightly more technical than other tutorials on my site. I’ve tried my best to keep this as simple as possible – but making games is an extra level of complexity. In the future I may get around to adding an edit mode. For now you’ll have to get your hands just a little bit dirty I’m afraid. Hopefully the payoff is worth it!
The game uses an xml file called game.xml which tells the game about the content. You’ll also place the images, audio and video in to specific folders.
Step 1 – Collate your content
You’ll need any combination of images, maps, audio and video. You don’t need all of this – you could just focus on audio – or only use images if you prefer.
Step 2 – Figure out answers to your puzzles
So currently the app only supports a number of different puzzle types:
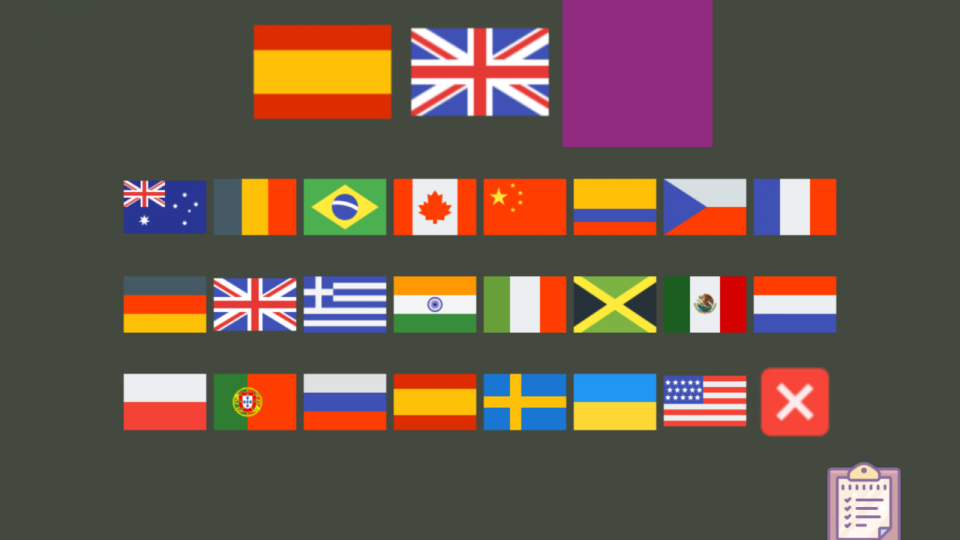
letter, number, flag, suit, colour and compass directions
Your puzzle will need a solution that matches this. In the future I plan to open this up so that any puzzle types can be created. For now you’re stuck with the built-in ones. If you desperately need something then get in contact and I’ll do my best to add it.
Step 3 – Create XML
The easiest way to create some content is to edit an existing game.xml file. You’ll need a <ContentItem> for every piece of content.
The <Type> can be: Audio, Map, Picture, Video or Puzzle.
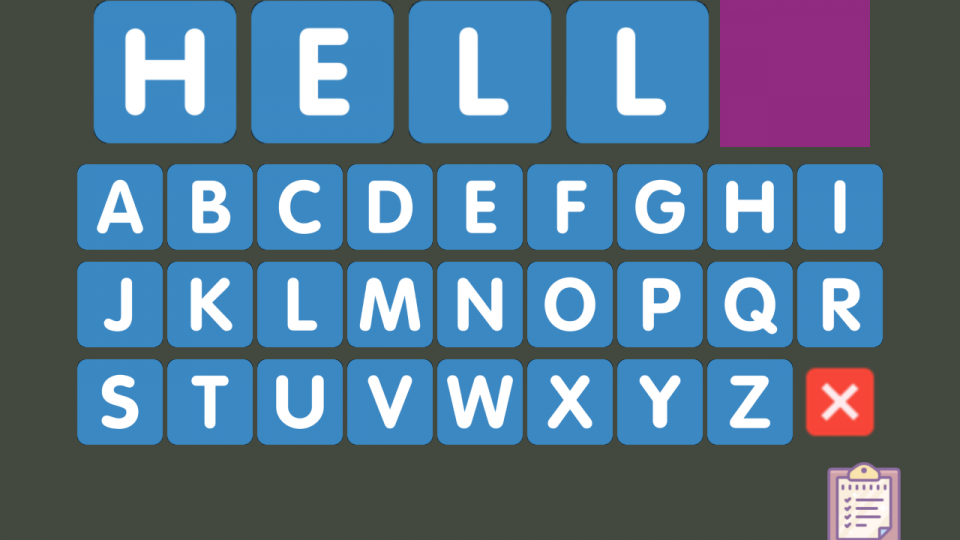
Puzzles are slightly more complicated. Here’s an example of a letter puzzle:
<ContentItem>
	<Type>Puzzle</Type>
	<PuzzleContentType>letter</PuzzleContentType>
	<PuzzleAnswer>H|E|L|L|O</PuzzleAnswer>
	<Name>Letter Puzzle</Name>
	<Description>What word?</Description>
</ContentItem>
The <PuzzleContentType> can be: flag, suit, letter, number, colour or compass.
The <PuzzleAnswer> describes the answer collection with each item separated by a |. So for a flag puzzle this might look like:
<PuzzleAnswer>spain|greatbritain|sweden</PuzzleAnswer>
The final part to understand is how content is unlocked. For this there are two additional parameters <Locked> & <UnlockContent>
Every single <ContentItem> should have a Locked type. This is an ID which says when the content becomes available – i.e. all content that is available from the beginning of the game should have an ID of 0.
<Locked>0</Locked>
Now we need a way to say when this content is unlocked and becomes available to the player. This is where <UnlockContent> comes in. An <UnlockContent> tag can be added to any <ContentItem>. Once that content has been accessed by the player the content referenced by the ID will become unlocked. In the event of a puzzle this content is only unlocked once the puzzles is correctly solved.
So, we might have a video that we want to be unlocked once a suit puzzle is solved. The <ContentItem> for the video would look like:
<ContentItem>
	<Locked>0</Locked>
	<Type>Puzzle</Type>
	<PuzzleContentType>suit</PuzzleContentType>
	<PuzzleAnswer>clubs|diamonds|hearts|spades</PuzzleAnswer>
	<Name>Suits Puzzle</Name>
	<Description>Order of suits (alphabetic)</Description>
	<UnlockContent>1</UnlockContent>
</ContentItem>
And the <ContentItem> for the Suit puzzle would be:
<ContentItem>
	<Locked>1</Locked>
	<Type>Video</Type>
	<File>spy1.mp4</File>
	<Name>Spy Advice</Name>
	<Description>Useful spy info</Description>
</ContentItem>
Now when the suit puzzle is successfully solved content with that is locked with an ID of 1 becomes unlocked and the player now has access to the video.
Step 4 – Assemble the content in the correct folders and copy to your phone
If you’ve already installed a game then all the files are viewable on your android device in the Download/EscapeGame/ folder. Within here you’ll find reference to the installed games. If you were to create a new game called ‘YourAmazingEscapeGame’ then you would set your folders up as below: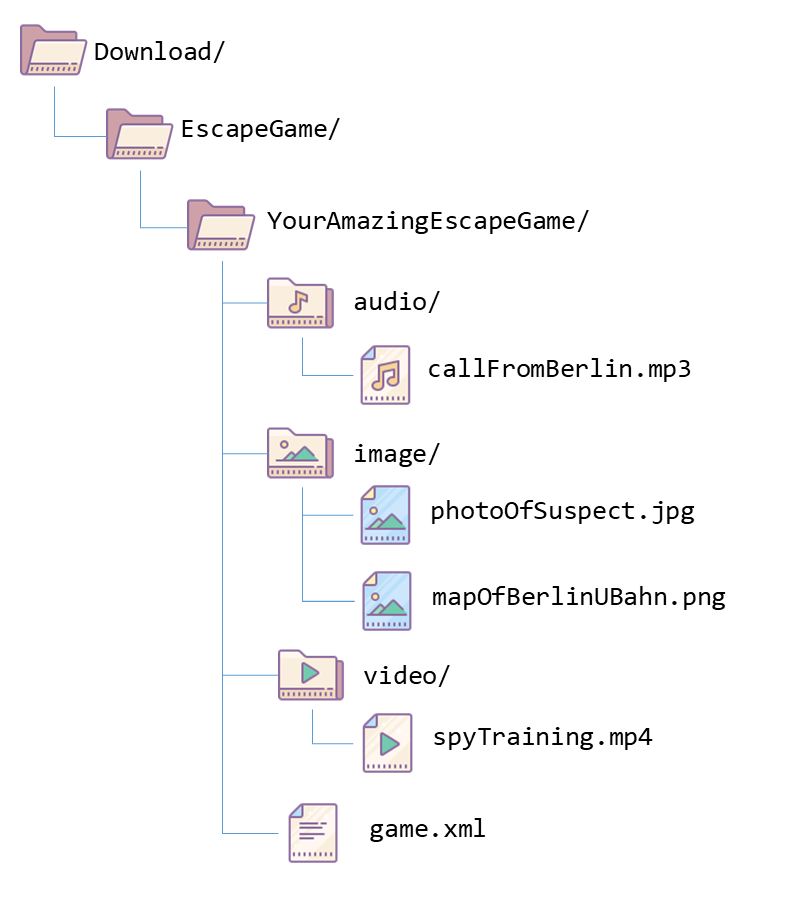
Basically the game.xml sits directly inside your game folder.
All other content is grouped into the folders: audio, image, video.
The easiest way to do this is to have your Android device connected to your PC / laptop by the USB cable and then access the files as if it was a normal mounted USB memory stick.
Once you’ve set up your content, start the ‘DIY Escape Game’ app, choose your new game and click Begin. You should be ready to test it out.
If you’ve got to this stage and want to share what you’ve made. You can email me over a zip of your game and I can add it to the repository for you. Obviously you’ll need to be happy that anyone can get access to your content then. The advantage of this (in addition to sharing) is that it’s much easier to install your game to other devices.
Next steps development-wise?
I’ve lots of ideas which will get developed depending on need (ideally I will use this application to create some Escape Games) and in the progress of this will be able to add features. At the moment these might be:
- Hints system – currently this is lacking and is probably the most essential next feature
- NFC cards – use this to trigger content (this is partially working but requires more tutorial writing)
- GPS – use locations to trigger content
- Improved Intro / End game screens
- Edit the game within the app instead of messing with the XML
- A global timer
- iBeacons – use to trigger content
- Augmented Reality to access content
- Data gathering – recording player progress (potentially this could be live)
Next
There we go that’s everything you need to know to create yourself your own museum-based real world escape game. I’d love to hear how you get on – so please do tweet / email me. I’ll be running workshops on the subject, adding more functionality to the android app and building Escape Rooms for wonderful places here in the UK and further afield – so do keep in touch.
Any other questions you might want to start by checking the Frequently Asked Questions.