Introduction
With the expected boom coming in Virtual Reality 3D content such as Photo Spheres are becoming increasingly relevant.
In this project we’re going to be creating our own Photo Spheres. Typically we would need to own hardware and software costing many thousands of pounds in order to create high-quality 360 Photo Sphere images. Instead we’ll be taking a DIY approach and using an Android phone and Camera App.
What is a Photo Sphere?
It’s like an extended panoramic photo. Not only does it allow you to look the full 360 degrees on the horizontal axis it also allows you to look up and down.
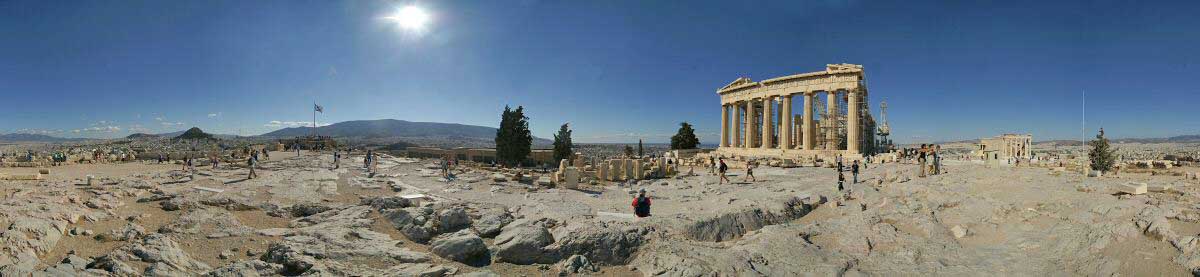
Panoramic photo
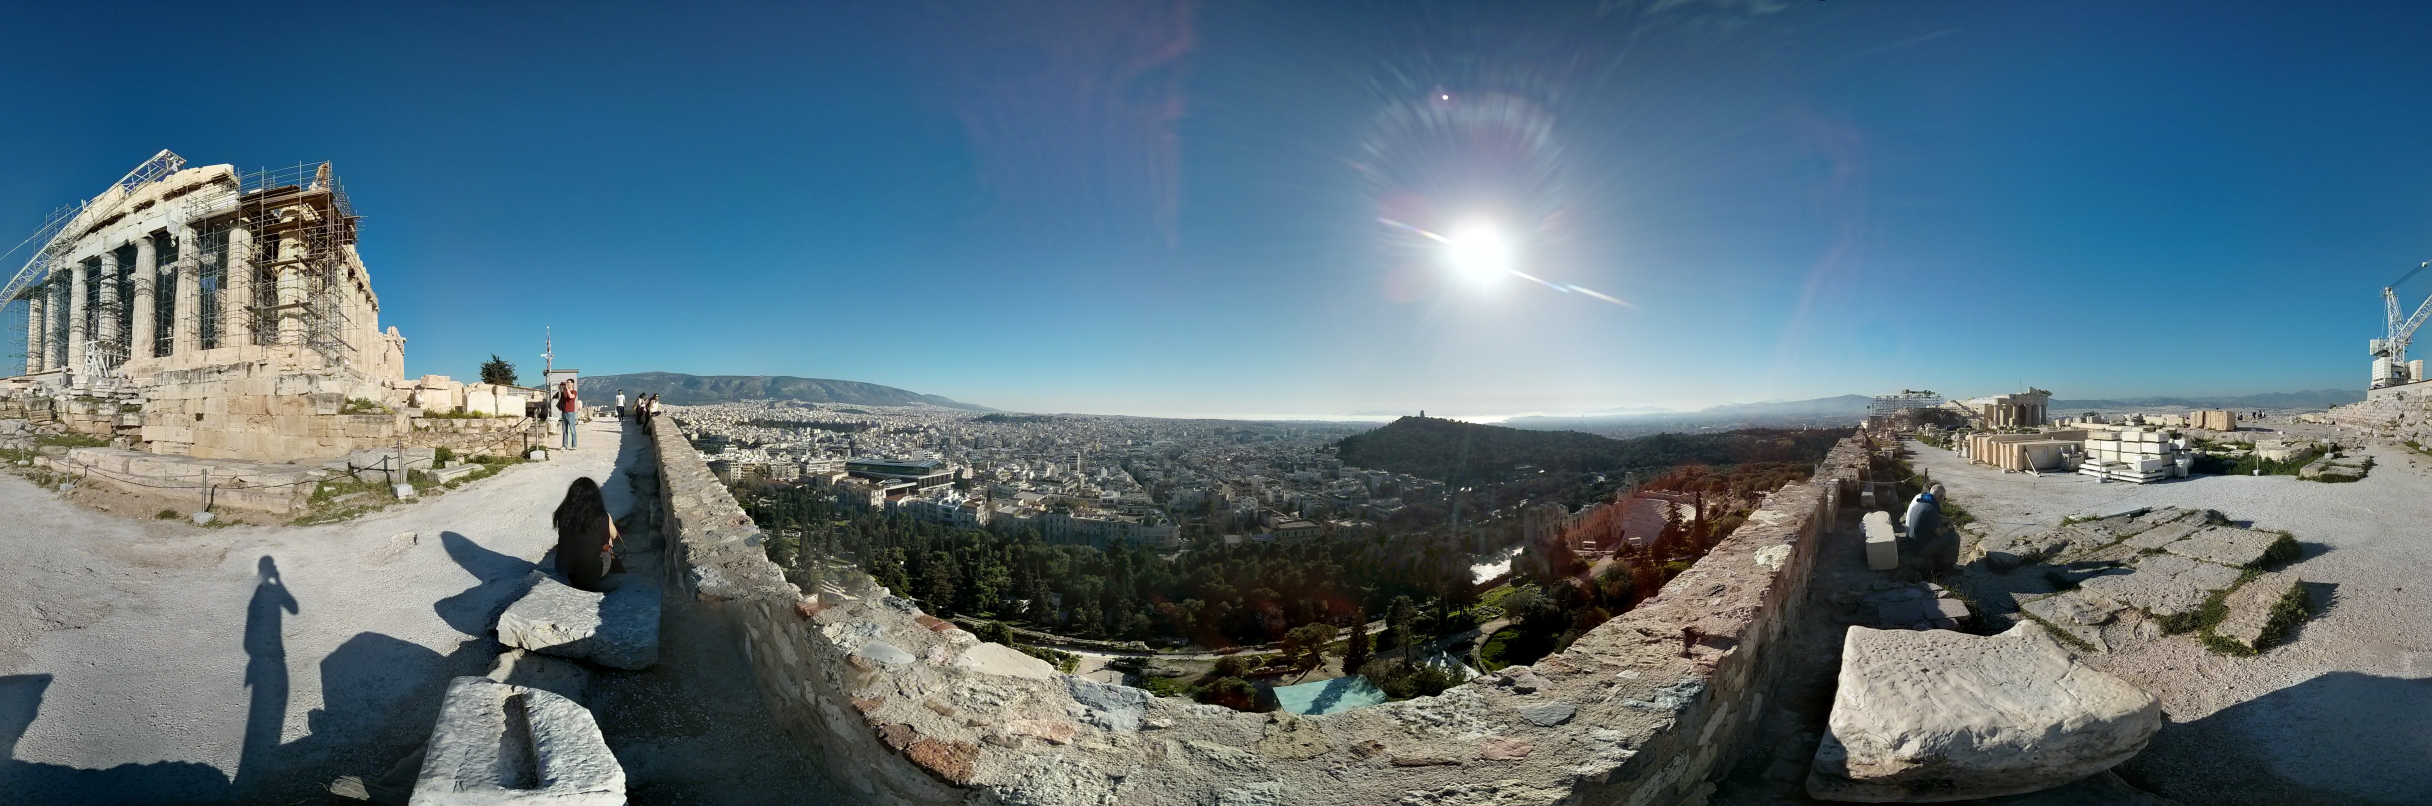
Photo Sphere Photo
The top image shows a standard panorama – the bottom is a Photo Sphere version. The reason that it looks so distorted is because it will be wrapped to the inside of a sphere. You can imagine that when you view a Photo Sphere you are actually standing inside that sphere looking outwards.
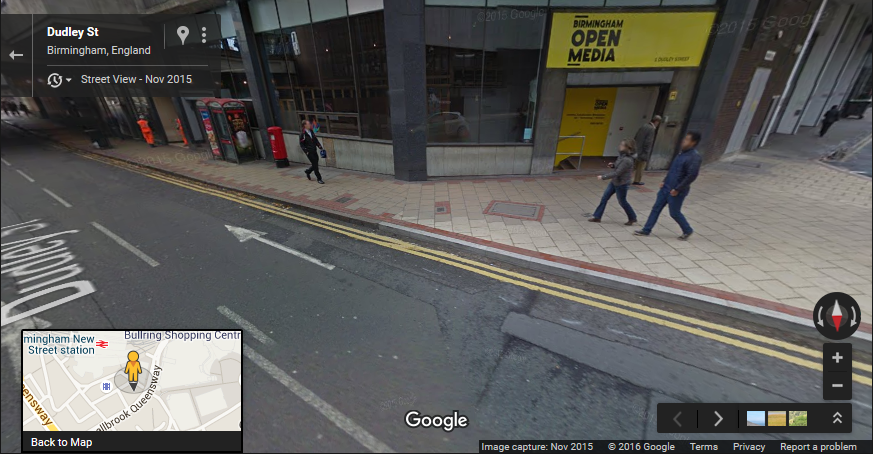
You have almost certainly experienced these before when playing with Google ‘Street View’.
###
What equipment do you need to make a Photo Sphere?
All Photo Spheres require the stitching together of many photographs taken from exactly the same spot. The two options are:
- using a single camera and taking multiple images in sequence
- using many cameras to take multiple images simultaneously
Once you have a collection of photos, specialist software allows you to post-process them by stitching them into the single large Photo Sphere.
Note: it is possible to use wide angle lenses to reduce the number of cameras or photos required.

Budget Alternatives
- All in one unit – Ricoh Theta M15 or S 360 Spherical Camera
- Rig using cheap Go-Pro alternatives – e.g. Brahma 6 VR Camera Rig
- The camera on your mobile phone and an app
None of these will get you results as good as the professional setup. If you’re after high quality – option 2 is the way to go – but will require longer time investments.
We’re going to go with option 3 as this has the smallest financial outlay and you can probably do this right from your phone without any additional purchases.
How do we take our own Photo Sphere?
These instructions apply to an Android phone – but it is a similar process for iOS and Window Phones. It should take around 2 minutes per capture.
- Install ‘Google Camera’ App (if you don’t already have it)
- Move yourself to the centre of your real-world location.
- Hold up your phone in front of you in portrait mode
- Fire up the ‘Google Camera’ application
- Switch into Photo Sphere mode (drag in the menu from the left hand side)
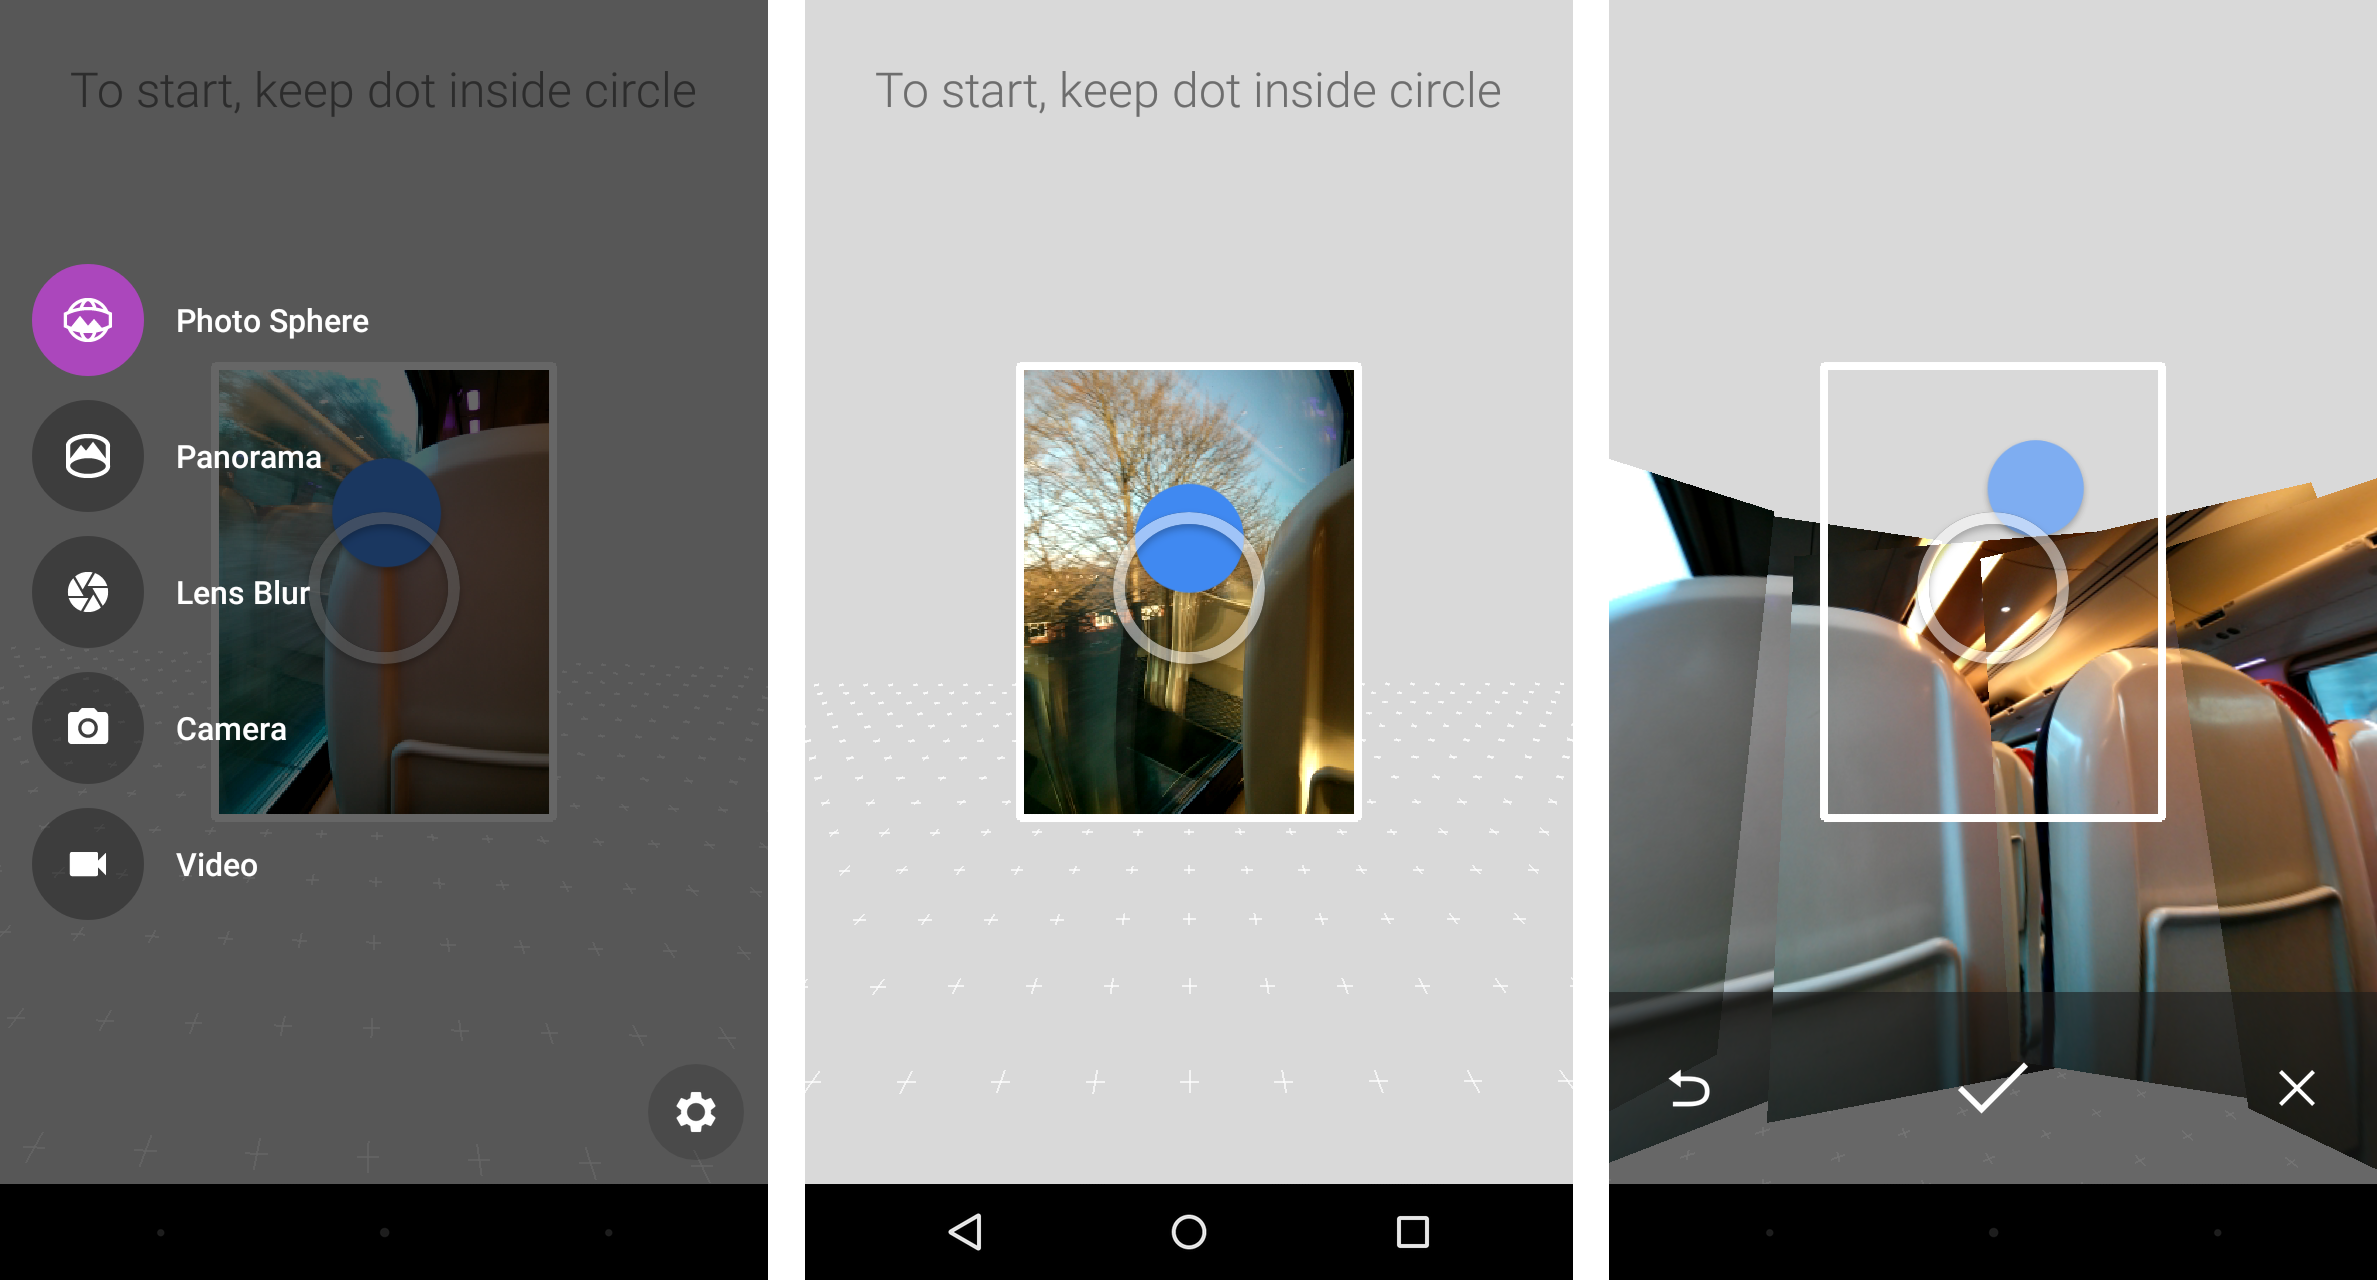
- Follow the instructions on screen to take all the necessary photos. Slow & steady is the key. It will probably take about 2 minutes to capture all the photos required. Generally it’s recommended to go clockwise from the starting photo completing one entire revolution. Next complete the two ‘rows’ beneath and then finally the two ‘rows’ above. You should wrap up with the entirely vertical photos (one directly up and the other directly down)
- Once you’ve finished it will take the software a few minutes to process the individual photos into one complete Photo Sphere. This will happen in the background so you can continue to use the phone and even take more Photo Spheres!
- View your finished work on the phone by using the ‘Photos’ App
Note: you’ll probably feel a bit silly doing this – which is why we would normally do it in a quiet / closed gallery!
You will probably find that your early attempts at this will have ‘stitching artefacts’ where the software has struggled to join the photos together correctly.
There are lots of reasons this will happen:
- It’s hard (but not impossible) to use this method to take indoor Photo Spheres with lots of close-up objects.
- It’s harder when the light isn’t fantastic.
- It’s difficult to keep the camera lens completely still.
- Anywhere there is movement is going to be difficult to capture using this method (e.g. people walking)
- Rooms will lots of repeating patterns are more difficult to stitch together (e.g. vertical blinds)
- The stitching software on the phone isn’t as good as the professional versions.
Issue 3 is the main one here and it’s also the one that we can control the most. The professional setups all use expensive equipment to ensure that the camera lens is perfectly still.
You might want to try again but this time focus on keeping the camera lens at a fixed point in space and you as the person rotate around it. Have a few more practice goes and see if you can create a better Photo Sphere.
These two YouTube videos show demonstrations of techniques to steady the lens position:
- Circle around a spot: www.youtube.com/watch?v=4ls6MOyUpcg
- Camera steady over one foot: www.youtube.com/watch?v=UozBwluWW0M
Conclusion
If you’d like to produce more professional results – without professional equipment – these YouTube videos show people making their own mounts that dramatically improve the their Photo Spheres.
- Tennis Ball Helper: www.youtube.com/watch?v=gFaG-L4gGZ8
- Nexus 4 DIY Camera Mount: www.youtube.com/watch?v=7BJBmH_FRgI